Change and/or Remove Pledge(s)
Use the following instructions to change or remove any information for any individual or group who already has pledge information entries. Use the View and Enter Pledges screen to carry out these instructions.
- Click Accounts & Pledges in the Button Bar at the top of the screen
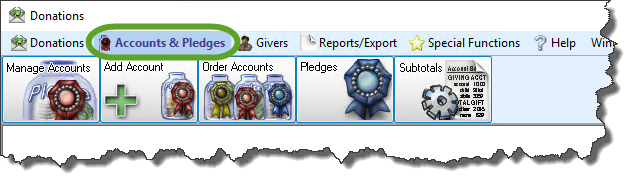
- From the menu options that appear underneath, click Pledges to enter the screen

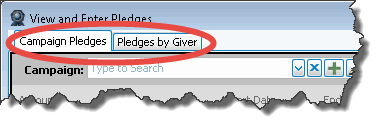
- Click on the Pledges by Giver tab
- From the Giver box, look up the name of the desired individual or group:

- The name that appears in the box when first opening to the screen is the first record of all individuals and groups of people entered in the software.
- Start typing the name you are searching, or click the
 dropdown button.
 - You can also use the
 Previous and
  Next buttons to pull up a record for an individual or group that follows in sequence.
 - Placing a
 checkmark in the Sequence by Giver Number box, changes the sequence so that when you click the Previous and Next buttons, the names show up in order by Giver Number.
- The Show boxes give you the option to show or hide past, present, and/or future pledges listed on the record of the chosen individual or group.
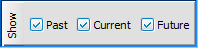
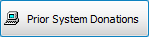
If you would like the View and Enter Pledges screen to show only certain pledge information, remove the checkmark from the desired box. Otherwise, leave the box with a checkmark inside it to include the contents that the box is meant to display. - Click the Prior System Donations box to see if the individual or group made a donation prior to when your Church started using the Donations Module.
- In the larger portion of the View and Enter Pledges screen is a list of any pledges made by the individual or group.

Note:
When the total amount of money donated towards the pledge equals or exceeds the total amount pledged, a balloon icon appears next to the Total Given:
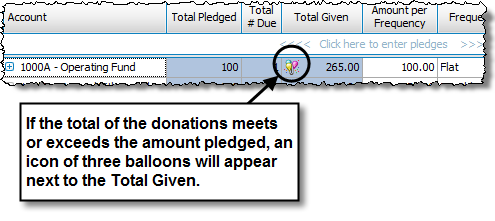
- Choose one of the following options:
- To change existing information:
Click any of the boxes to change the Pledge Information Fields. When finished, press the ENTER key on the keyboard. If you would like to undo the change to the line, press the Undo button.
 - To add new information:
Click the first available line that is labeled:
<<<< Click here to enter pledges >>>>
The line will then be ready for you to Enter Pledges for the individual or group by filling out the Pledge Information Fields. - To remove existing information:
Click the Delete button of the line that you want to remove and a message like the following will appear:
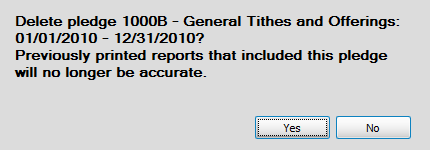
Keep in mind, the entry you are about to delete is an influence on previously printed reports that contain any kind of pledge total(s) information. If the entry is deleted, new reports would have to be printed to maintain an accurate understanding between the people whose reports have been affected by this change. If you are sure that the line must be deleted, click the Yes button to proceed.
- To change existing information:
